
10 min read
Disclosure: This article contains affiliate links. If you purchase through these links, we may earn a commission at no extra cost to you. We only recommend products we’ve researched and believe offer good value. Full disclosure. As an Amazon Associate, AESV earns from qualifying purchases.
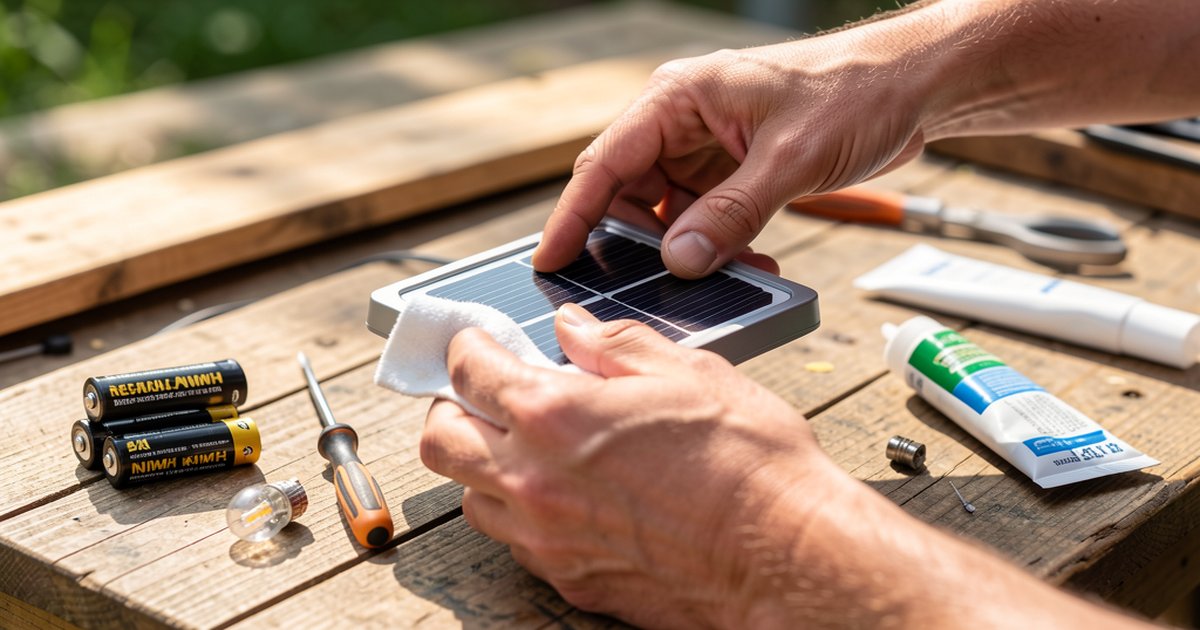
Solar lights are one of the easiest ways to add outdoor lighting without wiring or electricity costs. But if you’ve ever been disappointed by dim, short-lived, or unreliable solar lights, you’re not alone.
The good news: most solar light problems are fixable with simple hacks that cost little or nothing. In this guide, we’ve organized 20 proven solar light hacks into categories so you can quickly find what you need—whether it’s brighter lights, longer runtime, or creative new uses.
Hacks for Brighter Lights
1. Replace the Factory Batteries
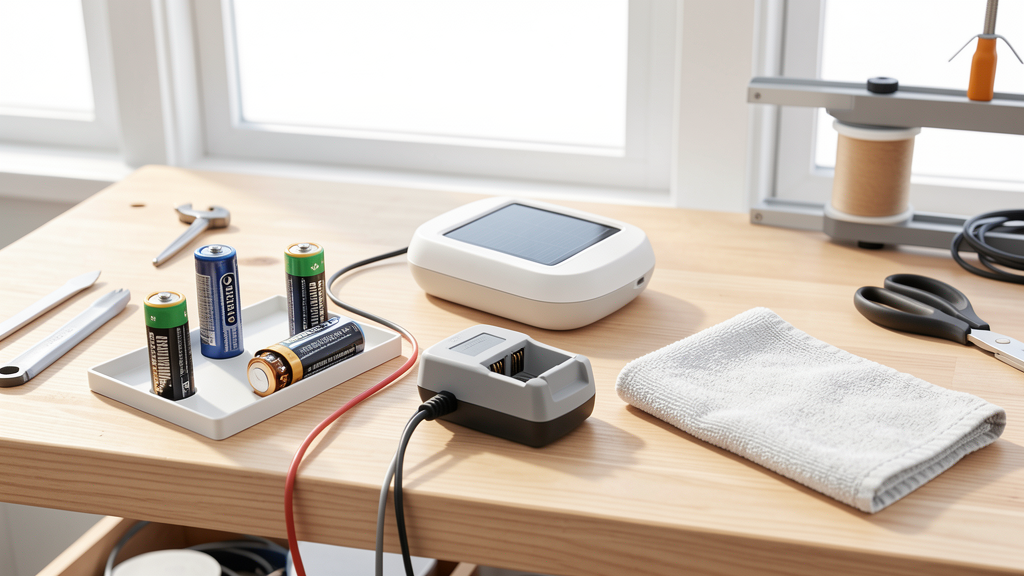
Impact: High | Cost: $5-10 | Difficulty: Easy
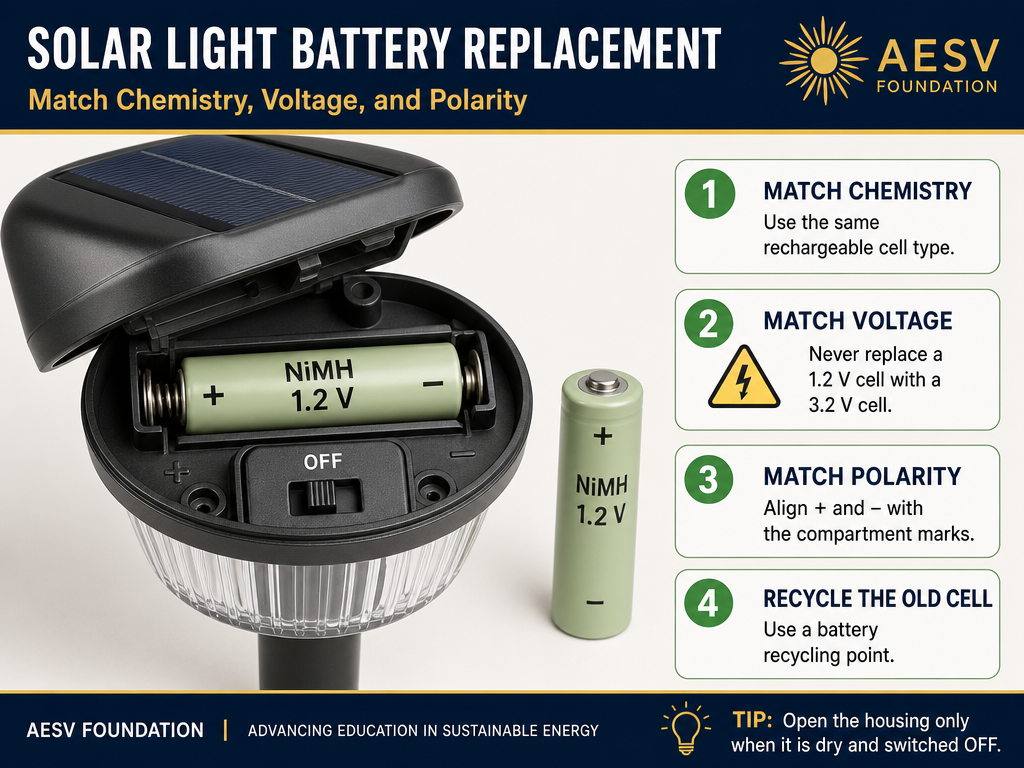
This single hack solves most “solar lights don’t work” complaints. Manufacturers almost always include the cheapest possible batteries—usually low-capacity NiCd cells that hold a fraction of the charge of quality NiMH batteries.
What to Do
- Open the battery compartment (usually on the underside of the solar cap).
- Check the battery size (most are AA or AAA).
- Replace with high-capacity NiMH rechargeables. We recommend Panasonic Eneloop or similar quality brands.
Why This Works
Factory NiCd batteries typically hold 300-600mAh. Quality NiMH batteries hold 1,900-2,800mAh—that’s 3-5x more capacity, meaning longer runtime and brighter output.
2. Remove the Light Shades
Impact: Medium | Cost: Free | Difficulty: Easy
Many solar lights have decorative shades or diffusers that block some of the light output. Removing them can increase brightness by 15-30%.
This works especially well for pathway lights where you want maximum ground illumination rather than ambient glow.
3. Clean the Solar Panels
Impact: Medium-High | Cost: Free | Difficulty: Easy
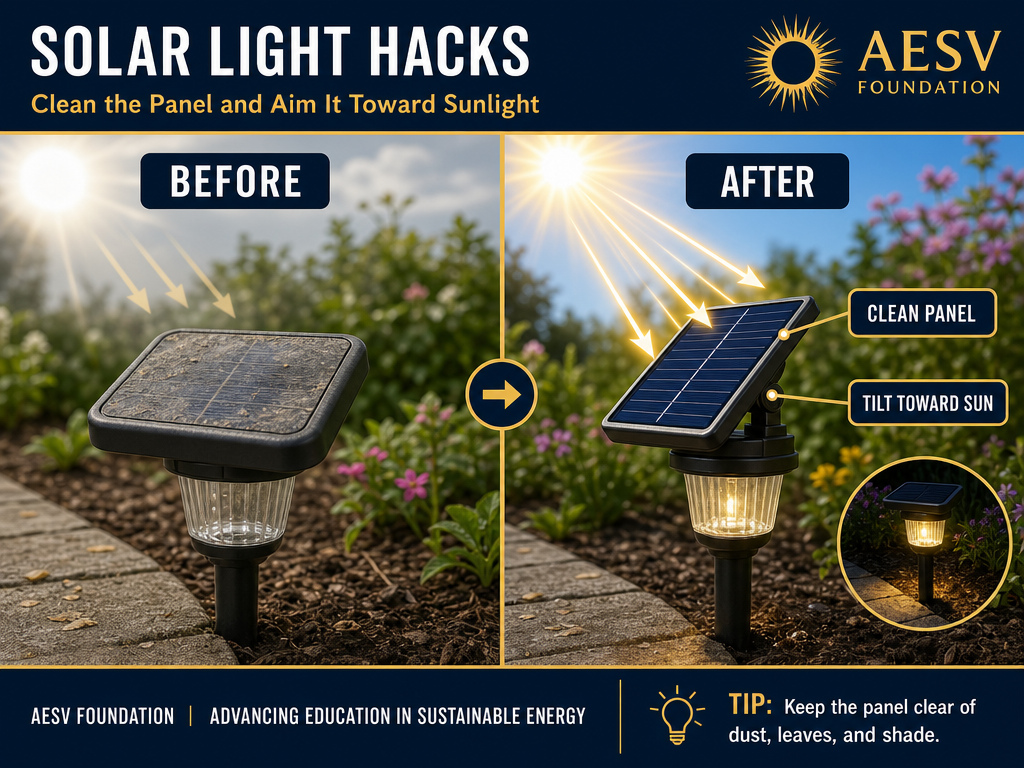
Dirt, pollen, and bird droppings can reduce solar panel efficiency by 20-50%. A quick wipe with a damp cloth every few weeks makes a noticeable difference.
How to Clean
- Use a soft cloth or sponge with mild soap and water.
- Avoid abrasive cleaners or scrubbing pads—they can scratch the panel surface.
- Clean early morning or evening when panels are cool (not hot from direct sun).
- For hard water spots, use a 50/50 vinegar-water solution.
4. Use Mirrors or Reflective Surfaces
Impact: Medium | Cost: Free-$10 | Difficulty: Easy
If your solar panel can’t get direct sunlight due to positioning, use mirrors or polished metal to bounce additional light onto the panel. Even a small increase in light hitting the panel means more charging time.
Place a mirror on the ground in front of the panel, or mount a small mirror behind it to catch reflected light from the opposite direction.
5. Change the LED Color
Impact: Visual | Cost: $3-5 | Difficulty: Medium
Replace warm white LEDs with colored ones for a different look, or use colored cellophane/gel filters over the existing LEDs. This is purely aesthetic but can transform the mood of your garden lighting.
For a DIY approach, colored nail polish on the LED lens works as a temporary filter (peels off cleanly).
Hacks for Longer Runtime
6. Pre-Charge New Batteries
Impact: High | Cost: Free | Difficulty: Easy
New solar lights often come with batteries that aren’t fully charged. Before installing them, let them charge in direct sunlight for 2-3 full days. This “conditions” the batteries and ensures maximum capacity from the start.
7. Angle Your Panels Correctly
Impact: High | Cost: Free | Difficulty: Easy
In the northern hemisphere, solar panels should face south for maximum sun exposure. If your light’s panel is adjustable, tilt it toward the sun’s path. Even fixed panels can sometimes be repositioned by adjusting the light’s ground stake.
Optimal Angles by Season
- Summer: Panel tilted 15-25° from horizontal
- Winter: Panel tilted 45-60° from horizontal
- Year-round: Your latitude angle (e.g., 30° for southern US)
8. Cover the Light Sensor for Indoor Use
Impact: Medium | Cost: Free | Difficulty: Easy
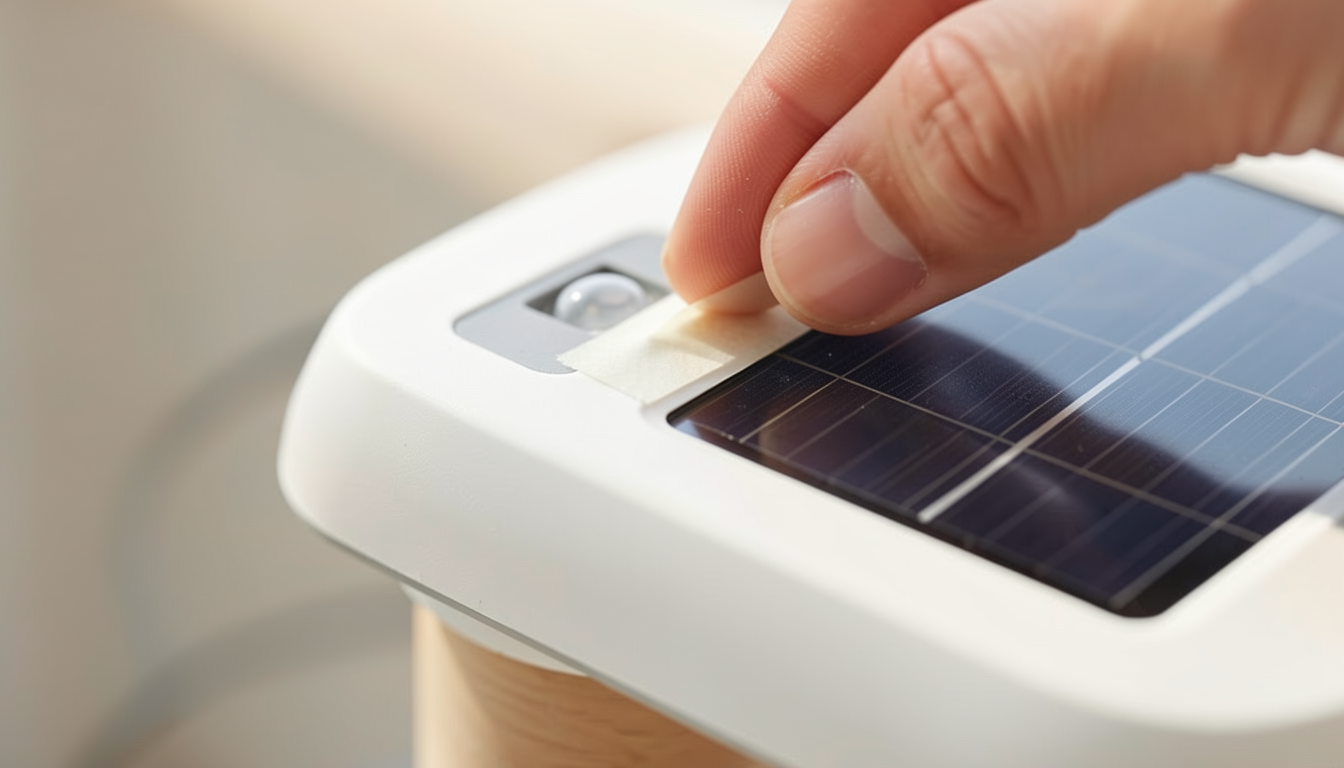
Solar lights have a sensor that turns them off during daylight. If you want to use solar lights indoors (charged outside, used inside), cover the sensor with a small piece of electrical tape or opaque material. This keeps the light on regardless of ambient light levels.
9. Charge Batteries Separately
Impact: High | Cost: $15-25 | Difficulty: Easy
If you have a dedicated battery charger, you can pre-charge your solar light batteries for instant full brightness. This is especially useful for events or parties when you need lights at full power right away.
A quality NiMH battery charger charges batteries faster and more completely than solar panels alone.
10. Combine Multiple Small Panels
Impact: High | Cost: $10-20 | Difficulty: Advanced
For lights in shaded areas, you can remove solar panels from several cheap lights, wire them together, and mount the combined panel in a sunny spot. Run thin wires from the remote panel back to the light. This is an advanced hack but solves the “no direct sunlight” problem completely.
Placement & Positioning Hacks
11. Avoid Street Light Interference
Impact: Medium | Cost: Free | Difficulty: Easy
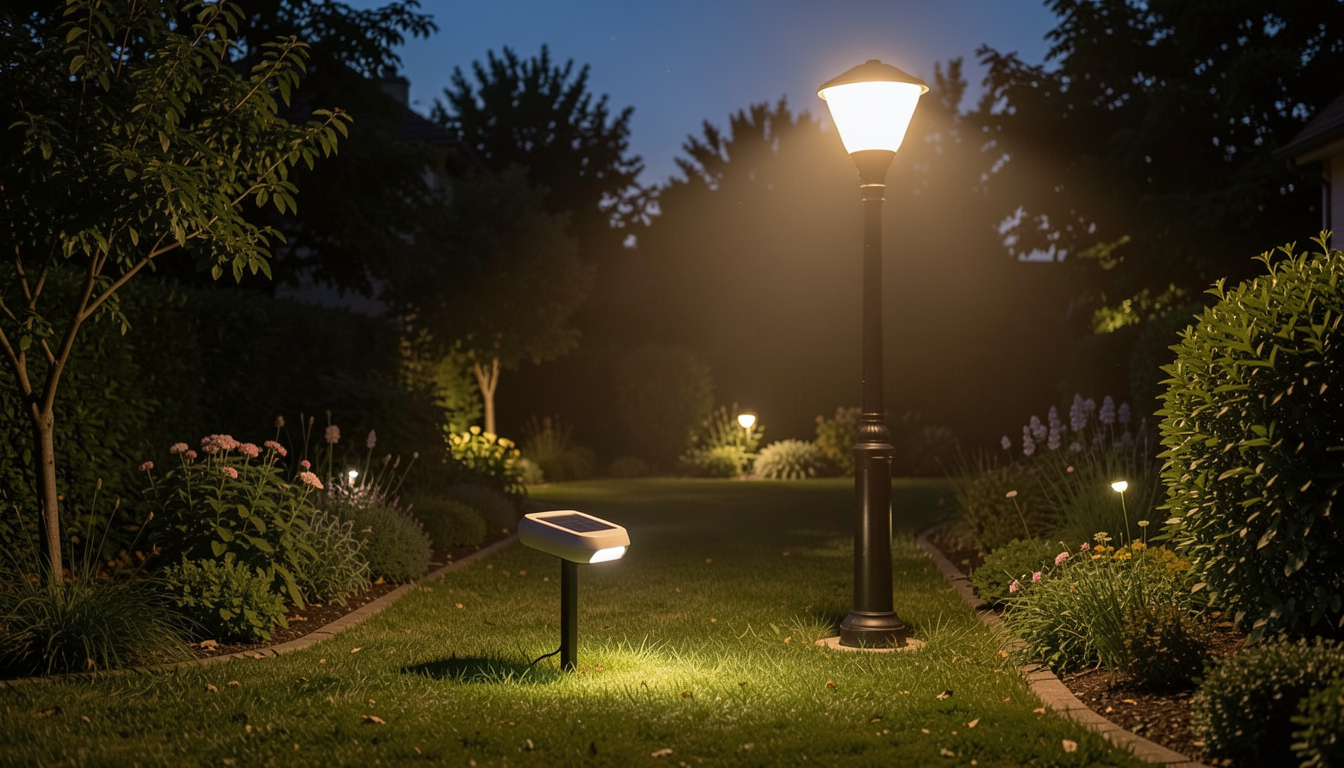
Solar lights near street lamps or other bright outdoor lights may not turn on at night—their sensors think it’s still daytime. Move solar lights at least 10-15 feet away from street lights, or use the tape-over-sensor hack (#8) with a manual switch.
12. Prepare the Soil Before Installing
impact: Low | Cost: Free | Difficulty: Easy
Hard, dry soil makes it difficult to push light stakes in straight. Water the ground several hours before installation. The softened soil lets you push stakes in easily and helps them stay upright.
13. Get 6-8 Hours of Direct Sun
Impact: High | Cost: Free | Difficulty: Easy
This seems obvious, but many people install solar lights in locations that look good aesthetically but get only 2-3 hours of direct sun. Before permanent installation, observe the spot throughout the day to confirm adequate sun exposure.
Morning sun (east-facing) is often better than afternoon sun because panels are more efficient when cool.
Creative & Decorative Hacks
14. Mason Jar Solar Lights
Impact: Visual | Cost: $3-5 | Difficulty: Easy
Pop the solar cap off a path light and secure it to a mason jar lid with silicone. The jar creates a warm, diffused glow perfect for tables and patios. See our full DIY solar garden lights guide for detailed instructions.
15. Solar Chandelier Upcycle
Impact: Visual | Cost: $15-30 | Difficulty: Medium
Found an old chandelier at a thrift store? Remove the candle bulbs and wire solar light units into the sockets. Hang from a tree branch or pergola for an elegant outdoor fixture that costs almost nothing to run.
16. Solar Light Chicken Coop
Impact: Functional | Cost: $10-20 | Difficulty: Medium
If you keep chickens, solar lights in the coop can extend their perceived daylight hours, which increases egg production during shorter winter days. Use a few solar lights on a timer (or with the sensor taped) to add 1-2 hours of “daylight” morning and evening.
Maintenance & Storage Tips
17. Store Lights Properly in Winter
Impact: High | Cost: Free | Difficulty: Easy
If you live in a harsh winter climate, store solar lights indoors during the off-season. Keep them in a room with some ambient light and recharge the batteries once a month to prevent deep discharge damage.
18. Replace Batteries Annually
Impact: High | Cost: $5-10/year | Difficulty: Easy
Even quality rechargeable batteries degrade over time. Plan to replace them every 12-18 months for consistent performance. Mark your calendar or set a reminder—it’s the cheapest maintenance you can do.
19. Keep Spare Lights on Hand
Impact: Medium | Cost: $10-20 | Difficulty: Easy
Solar lights fail eventually. Having a few spares in storage means you can replace broken ones immediately rather than living with dark spots in your garden while you wait for new ones to arrive.
Buy extras when they go on sale (end of season is best) and store with batteries removed.
20. Protect from Lawn Equipment
Impact: Medium | Cost: Free | Difficulty: Easy
Solar pathway lights are frequently damaged by lawn mowers and string trimmers. Mark light locations with small flags or paint the stakes bright colors so they’re visible during yard work.
Upgrade Your Solar Lights
The right batteries and accessories make all the difference. Here’s what we recommend for reliable, bright solar lighting:
- Panasonic Eneloop AA Batteries — Our top pick for solar light upgrades
- Quality NiMH Battery Charger — For pre-charging and conditioning
- Quality Solar Path Lights — Look for metal construction and replaceable batteries
Frequently Asked Questions
Why do my solar lights only last a few hours?
Usually low-quality batteries or insufficient sunlight. Replace the factory batteries with high-capacity NiMH cells (hack #1) and ensure the panel gets 6-8 hours of direct sun daily (hack #13).
Can I leave solar lights out in the rain?
Most outdoor solar lights are designed to be weatherproof (look for IP65 rating or higher). However, submerging them or exposing to extreme weather can still cause damage. In severe storms, it’s worth bringing them inside temporarily.
Do solar lights work in winter?
Yes, but with reduced performance due to shorter days and weaker sunlight. Position panels optimally, clean them regularly, and consider bringing lights inside during extreme cold. See our solar lights troubleshooting guide for more winter tips.
Are more expensive solar lights worth it?
Usually yes. Higher-quality lights have better batteries, more efficient solar panels, and more durable construction. A $15-20 light often outlasts and outperforms 5 cheap $3 lights. The metal-bodied lights with replaceable batteries are generally the best value.
How do I make solar lights brighter?
Start with hack #1 (replace batteries) and hack #3 (clean panels). If that’s not enough, try hack #2 (remove shades) or hack #4 (add reflective surfaces). For significantly brighter output, you may need to upgrade to higher-quality lights altogether.
About the AESV Team
We research and test alternative energy solutions for homeowners. Our goal is to help you make informed decisions about solar, wind, and other renewable energy options. Learn more about our approach.
Get Our Free Solar Backup Checklist
Planning a solar setup? Download our free checklist to make sure you have everything you need for reliable backup power.
